

Installing van seat belts in a new van is a crucial safety measure that ensures the well - being of passengers. As a trusted van seat belts supplier, I am here to guide you through the entire process. This blog will provide you with a step - by - step guide on how to install van seat belts, along with important safety considerations and tips.
Step 1: Gather the Necessary Tools and Materials
Before you start the installation process, it's essential to have all the required tools and materials at hand. Here's a list of what you'll need:
- Van seat belts: You can choose from a variety of seat belts available in the market. Our company offers high - quality seat belts that meet all safety standards.
- Screwdriver set: Different types of screws are used in seat belt installation, so having a comprehensive set is important.
- Drill: In some cases, you may need to drill holes for mounting the seat belts.
- Wrench set: To tighten nuts and bolts securely.
- Measuring tape: To ensure accurate placement of the seat belts.
Step 2: Choose the Right Seat Belts
Selecting the appropriate seat belts for your van is crucial. Consider the following factors:
- Number of passengers: Determine how many seat belts you need based on the van's seating capacity.
- Type of seat belts: There are different types, such as 3 - point seat belts, which are the most common and provide better protection. Our Airplane Seat Belt Buckle is a great option for a reliable and secure buckle.
- Compatibility: Make sure the seat belts are compatible with your van's make and model.
Step 3: Prepare the Van
Before installing the seat belts, you need to prepare the van.
- Clean the mounting areas: Remove any dirt, debris, or rust from the areas where the seat belts will be installed. This ensures a secure and stable installation.
- Locate the mounting points: Refer to your van's manual to find the correct mounting points for the seat belts. These points are usually pre - marked in the van.
Step 4: Install the Anchor Points
The anchor points are the foundation of the seat belt system.
- Mark the positions: Use a measuring tape to mark the exact positions for the anchor points. Make sure they are evenly spaced and in the correct locations.
- Drill holes (if necessary): If the van does not have pre - drilled holes, carefully drill holes at the marked positions. Be sure to follow the proper drilling techniques to avoid damaging the van's structure.
- Install the anchor bolts: Insert the anchor bolts into the holes and tighten them using a wrench. Ensure they are tightened securely to prevent the seat belts from coming loose.
Step 5: Install the Seat Belt Webbing
The seat belt webbing is the part that wraps around the passenger.
- Attach the webbing to the retractor: Connect the seat belt webbing to the retractor mechanism. Make sure it is properly threaded and secured. Our Nylon Seat Belt Webbing is made of high - quality nylon, which is strong and durable.
- Route the webbing: Route the webbing through the appropriate guides and loops in the van. Ensure it is not twisted or kinked.
- Attach the webbing to the anchor points: Connect the end of the webbing to the anchor points using the provided hardware. Tighten the connections securely.
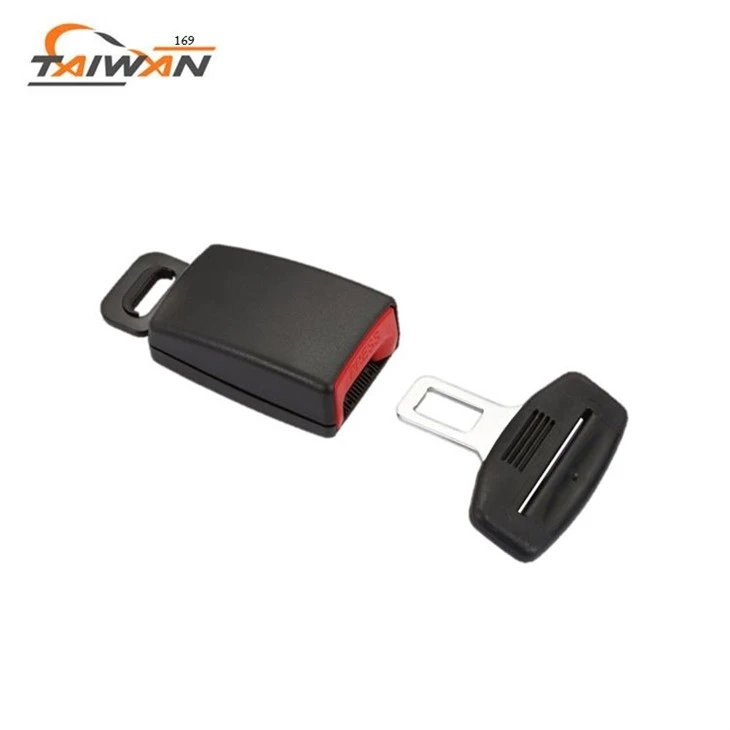
Step 6: Install the Buckle and Tongue
The buckle and tongue are used to fasten and release the seat belt.
- Mount the buckle: Attach the buckle to the van using the appropriate screws or bolts. Make sure it is firmly attached and in a convenient location for the passenger to reach.
- Install the tongue: Connect the tongue to the seat belt webbing. Our Seat Belt Buckle Tongue is designed for easy insertion and removal.
Step 7: Test the Seat Belts
After installing all the components, it's important to test the seat belts to ensure they are working properly.
- Pull the webbing: Pull the seat belt webbing out of the retractor to check if it extends smoothly.
- Insert the tongue into the buckle: Make sure the tongue clicks securely into the buckle and can be released easily.
- Check the retractor: Release the seat belt and ensure it retracts back into the retractor without any issues.
Step 8: Safety Checks
Once the seat belts are installed and tested, perform a final safety check.
- Inspect the connections: Check all the connections, including the anchor points, webbing attachments, and buckle mounts, to ensure they are tight and secure.
- Check for proper alignment: Make sure the seat belts are aligned correctly and do not interfere with the van's seats or other components.
- Verify the operation: Have someone sit in the seat and fasten the seat belt to confirm that it fits properly and provides adequate protection.
Tips for a Successful Installation
- Follow the instructions: Always refer to the manufacturer's instructions for the seat belts and your van's manual.
- Take your time: Rushing the installation process can lead to mistakes and compromise safety.
- Seek professional help if needed: If you are unsure about any part of the installation process, it's best to consult a professional mechanic.
Conclusion
Installing van seat belts is a relatively straightforward process if you follow the steps outlined above. As a van seat belts supplier, we are committed to providing you with high - quality seat belts and the necessary support to ensure a safe installation. If you have any questions or need assistance with choosing the right seat belts for your van, please don't hesitate to contact us for a procurement discussion. We look forward to serving you and helping you keep your passengers safe on the road.

References
- Automotive Safety Standards Handbook
- Van Manufacturer's Installation Guides